Configuring a Ubiquiti PicoStation / NanoBeam / NanoBridge / Bullet / NanoStation as WiFi Client
The guide to using one NanoStation / NanoBeam / NanoBridge / Bullet / PicoStation to capture a distant WiFi signal.
1) Configuration of the NanoStation:
1.1) Connect the NanoStation / NanoBeam / NanoBridge / Bullet / PicoStation to your PC / laptop via Ethernet cable.
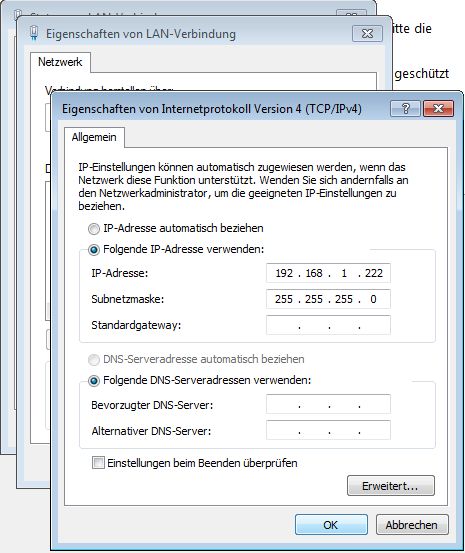
1.2) To access the NanoStation / NanoBeam / NanoBridge / Bullet / PicoStation, you need to assign a static IP address to your PC / laptop. The Ubiquiti components are factory-set with the IP address 192.168.1.20 - Assign your PC / laptop an IP address from the same subnet, such as IP address 192.168.1.10
If the page cannot be found, you need to briefly assign a static IP to the computer. This works as follows:
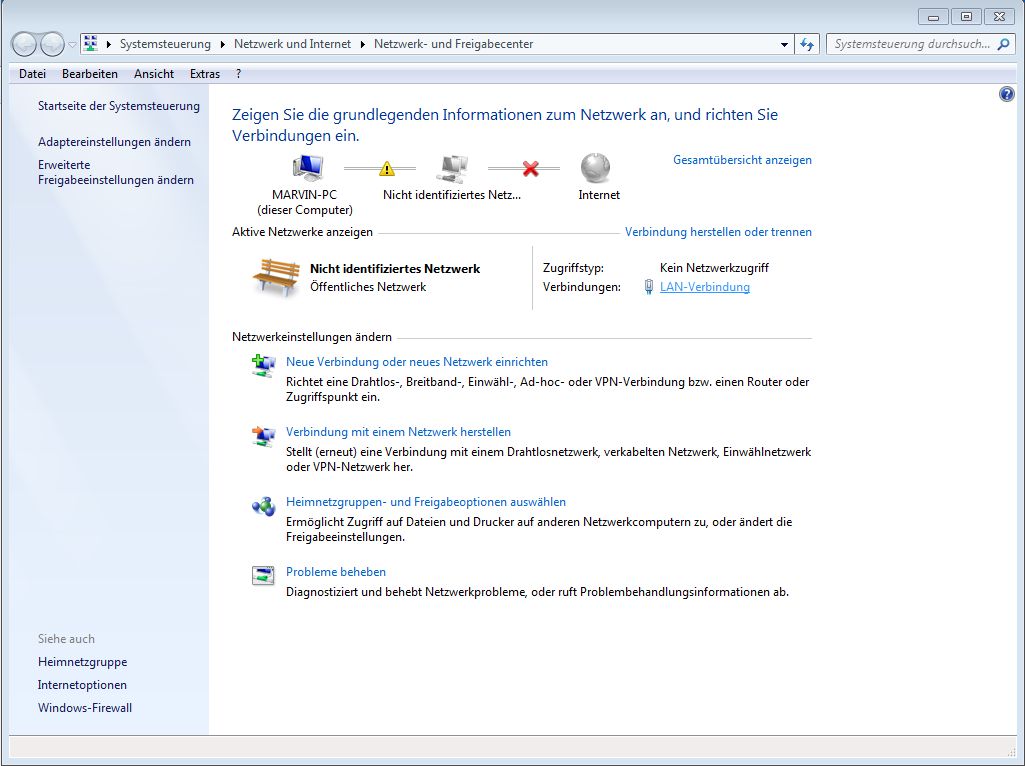
At the bottom right of the desktop, next to the clock, there is a computer icon. If you right-click on it, you can open the "Network and Sharing Center"

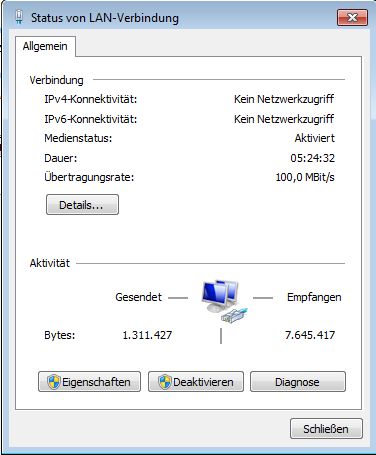
Then click on the "LAN Connection"
Next, click on "Properties" and confirm it.
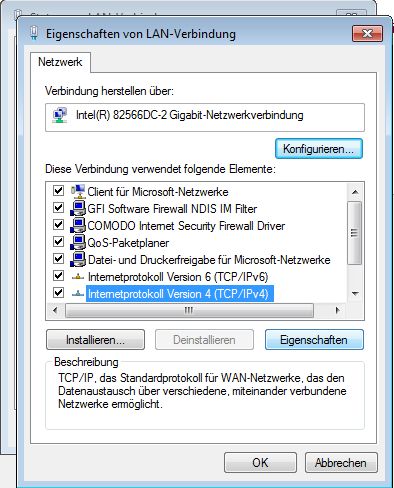
In the following window, select "Internet Protocol Version 4" and click "Properties".
In the next window, enter the following and then click "OK".
After a short moment, access to the NanoStation should now be possible in the browser.
1.3) Now, open the configuration interface of the NanoStation / NanoBeam / NanoBridge / Bullet / PicoStation via any browser. Enter the IP address, 192.168.1.20, in the browser's address field:
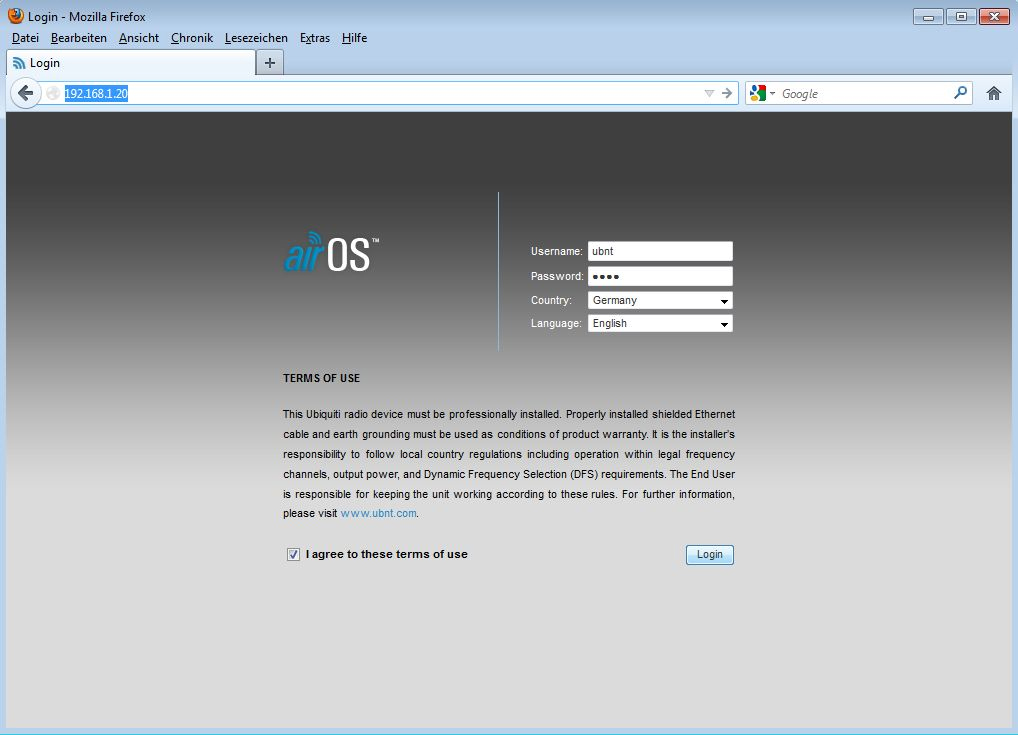
1.4) The username and password are set to: ubnt by default.
1.5) Select the country in the "Country" field where the device will be used. This automatically sets all default settings to comply with the applicable communication regulations of the respective country.
1.6) Select the desired language in the "Language" field and log in.
1.7) For configuration, we are interested in two menus. Let's start with the "Wireless" menu:
Then work through it from top to bottom
(Use Station without WDS)
Click Select behind SSID
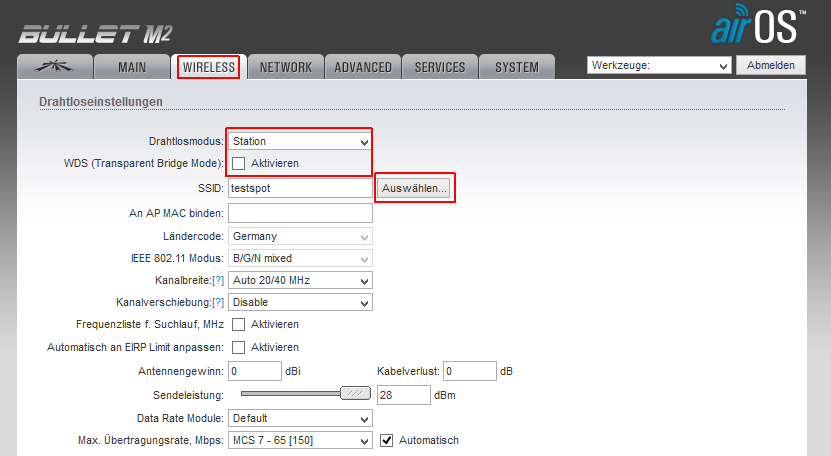
In the window that opens, select the network to be used and confirm with Select

Now, just enter the WiFi key if it is a secured network and click Apply
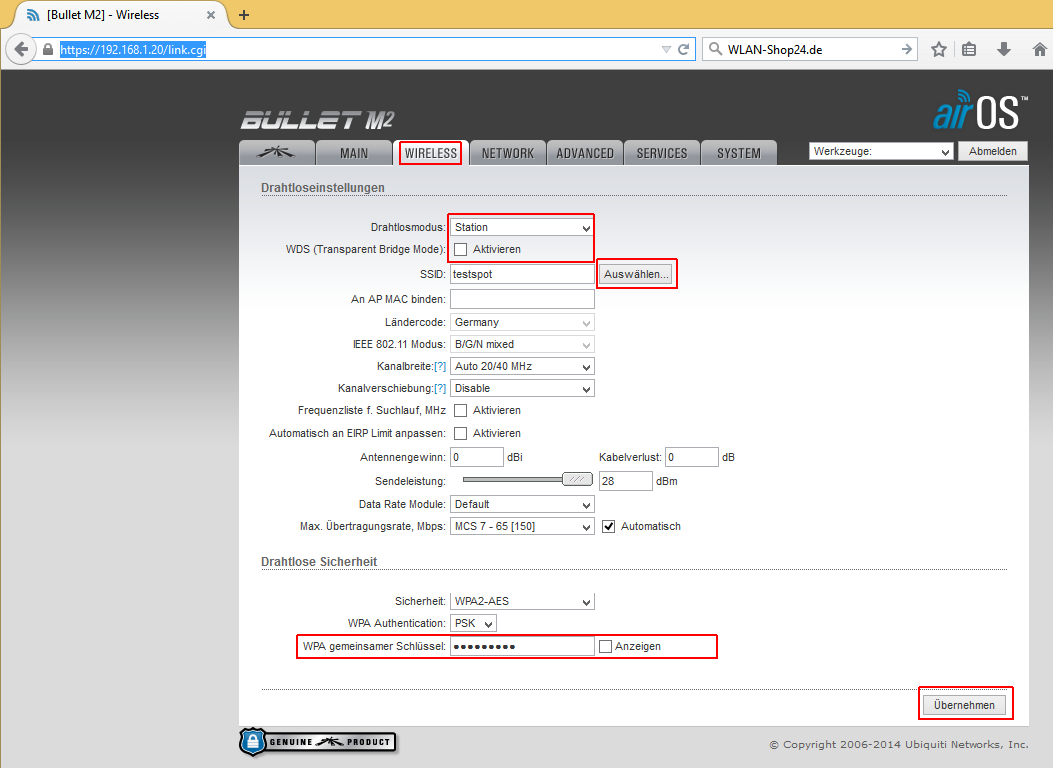
Confirm with Apply

Now, a new WiFi network is set as the "Internet source".
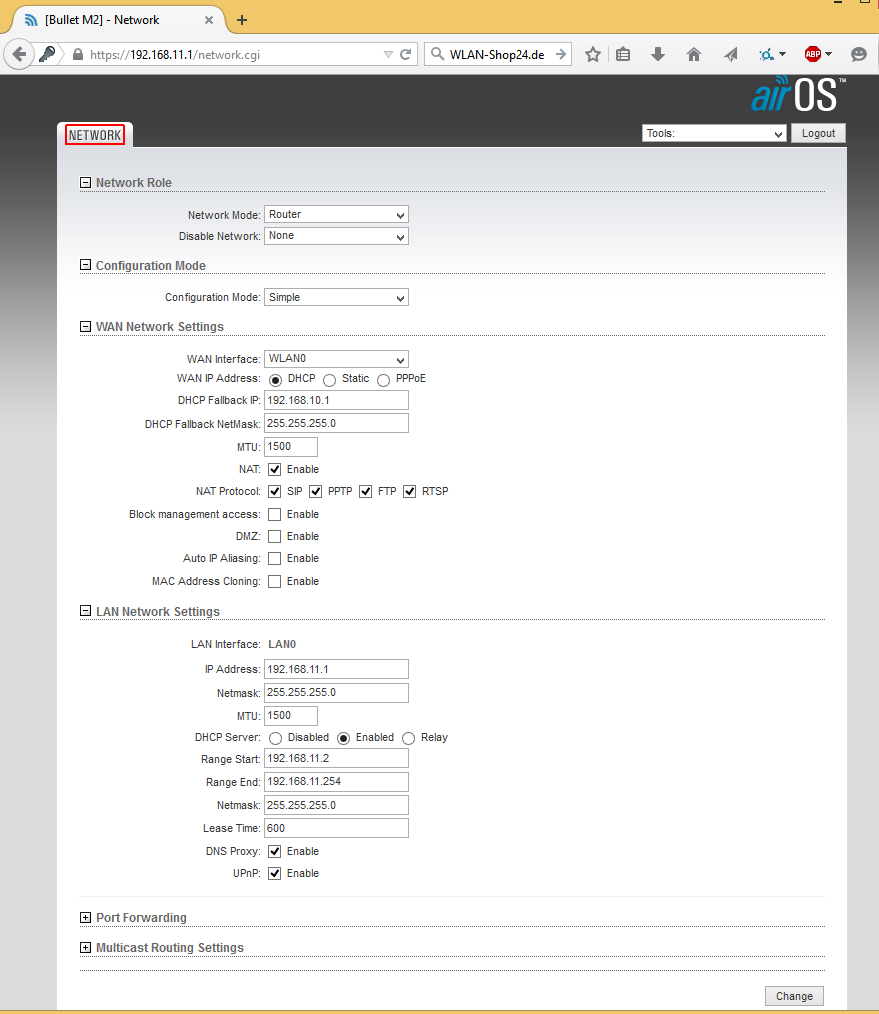
Now, we move on to the "Network" section, which only needs to be entered once and will never change.
Please use exactly these settings and then apply them with "Change" and "Apply".
Afterward, the device is always reachable via 192.168.11.1.
1.8) Now, set your PC back to "Obtain IP address automatically" (as described in 1.2).
VOILA - done - if you have further questions, feel free to reach out again.