Installation Guide: Configuring Ubiquiti PicoStation / Rocket / Bullet / NanoStation as a Wi-Fi Access Point
Below, we provide a step-by-step, illustrated guide for setting up a Ubiquiti PicoStation / Rocket / Bullet / NanoStation as an access point. (The example images may not match exactly depending on the device, but all menu options are present.)
First, connect the Ubiquiti PicoStation / Rocket via network cable to the "POE" labeled port on the PoE injector. Then, connect a computer/laptop/netbook via network cable to the "LAN" labeled port on the PoE injector.
Now, enter 192.168.1.20 in your browser, and you should see the following window.
If the page cannot be found, you need to assign a static IP address to the computer you are using to configure the PicoStation / Rocket. Here’s how:
At the bottom right of your Windows desktop, next to the clock, you will find a computer icon. Right-click it and open "Network and Sharing Center."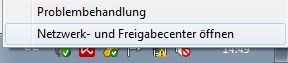
Click on "LAN Connection."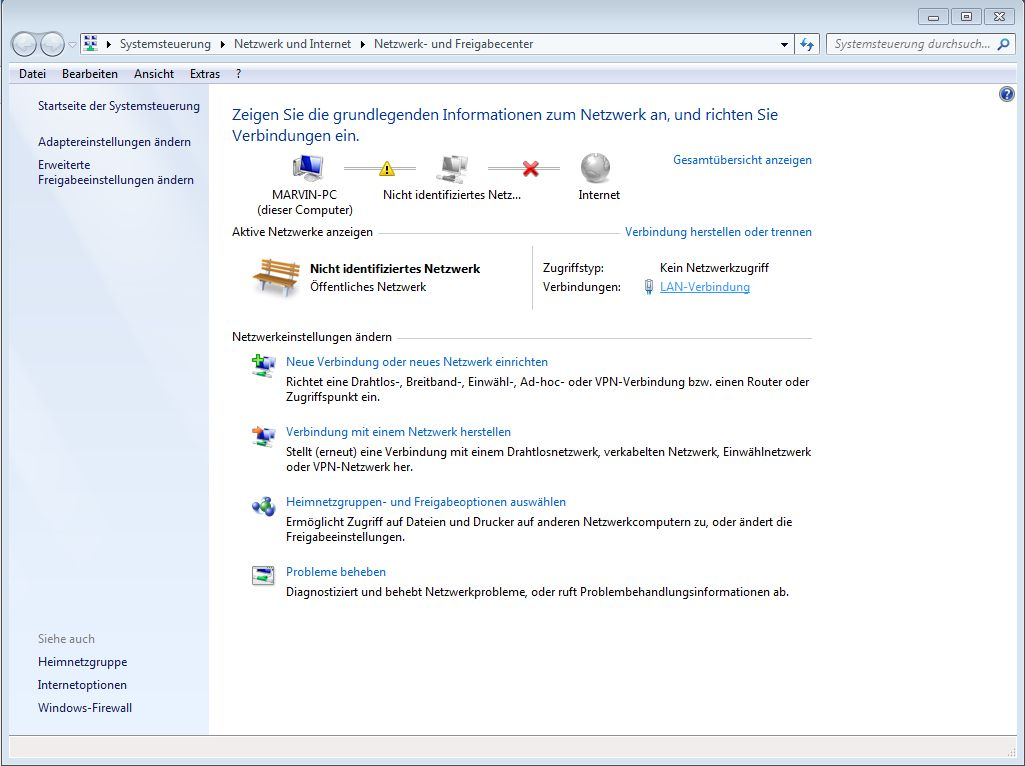
Next, click on "Properties" – you may need to confirm that you want to make changes. Please confirm.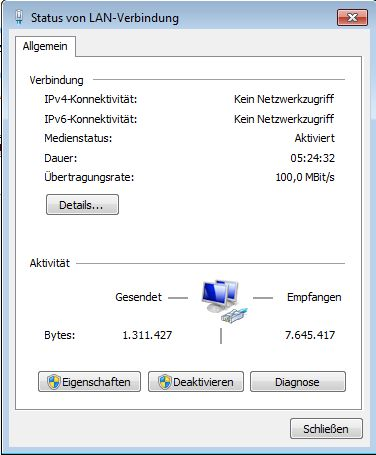
In the next window, select "Internet Protocol Version 4" and click "Properties."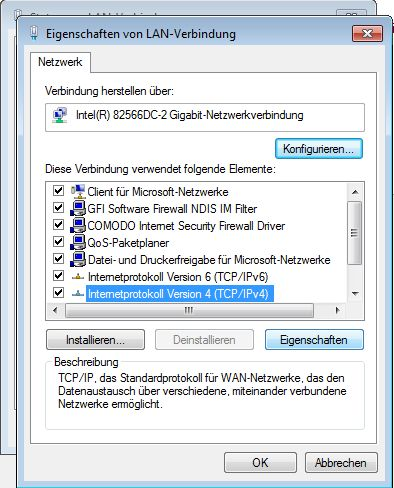
In the next window, enter the following information and click "OK."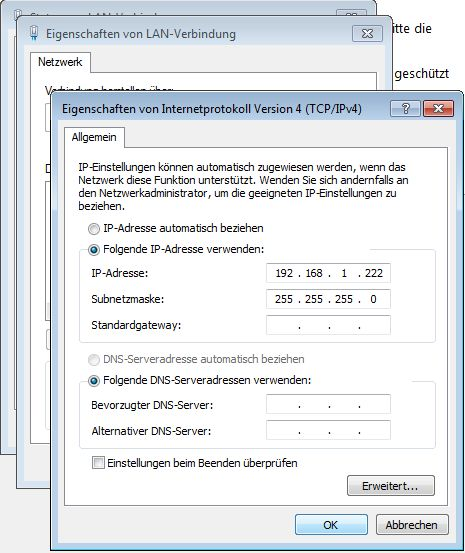
After a short moment, you should now be able to access the PicoStation or Rocket in your browser.
Log in with the following credentials:
Username: ubnt
Password: ubnt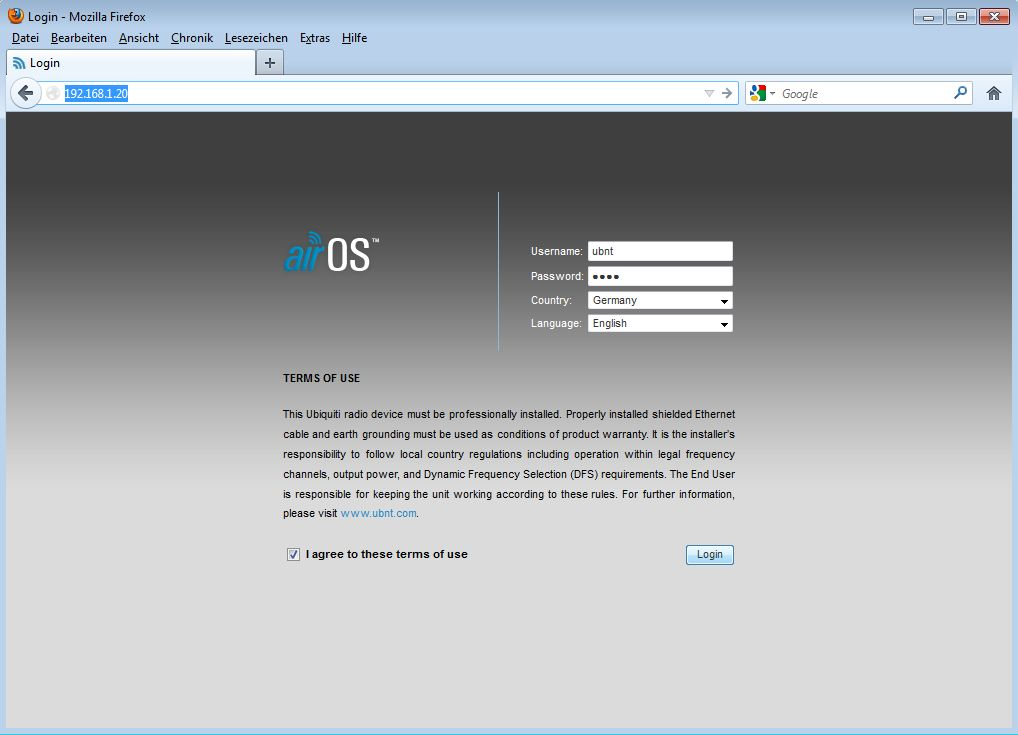
In the configuration interface, we are only interested in 3 menus. We will go through them step by step.
Menu "Wireless":
- Use Access Point mode as the wireless network mode.
- Disable WDS (do not check the box).
- Under SSID, enter the desired network name that the Rocket / PicoStation should broadcast.
- If you are using very old WiFi devices, you can set the channel width to 20MHz. All current devices work with 40MHz, which provides double the maximum bandwidth.
- Under Wireless Security, you can secure your network. I recommend WPA2-AES with PSK. Under WPA Preshared Key, enter the WiFi password to secure the network. It must be at least 8 characters long.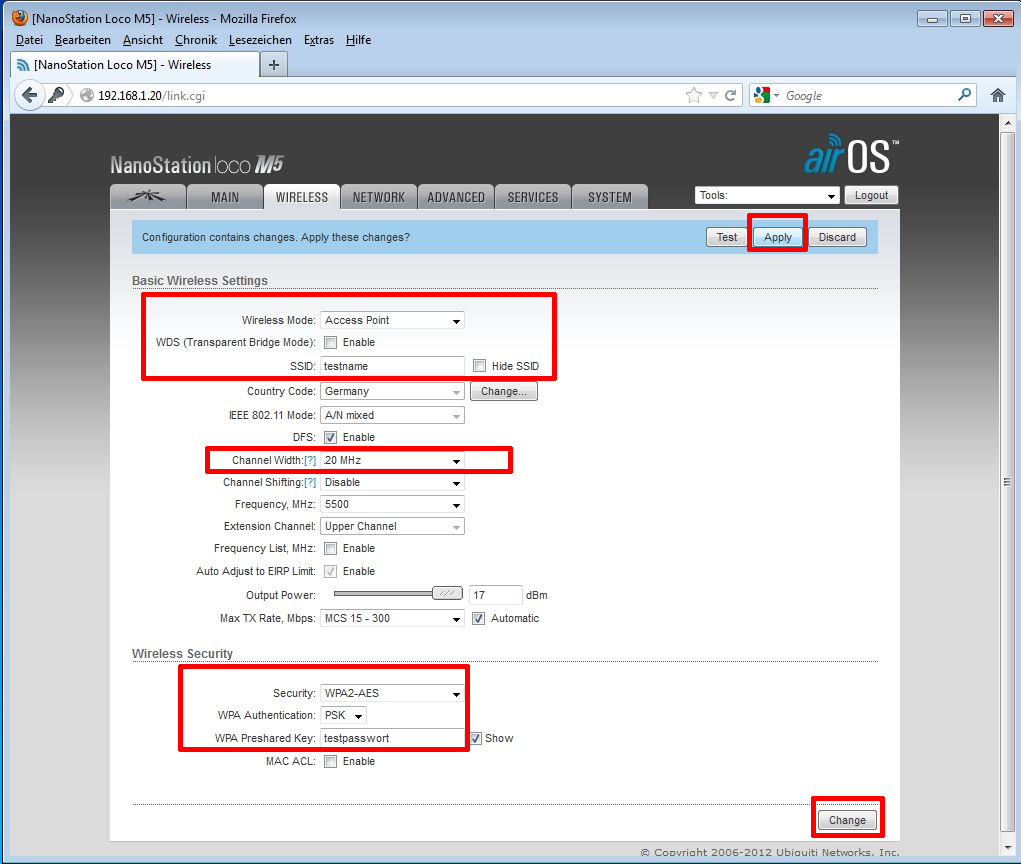
After clicking Apply, confirm with Save.
Menu "Ubiquiti" (the unnamed menu with the Ubiquiti logo at the top left):
- Uncheck airMAX Enable. (airMAX only works between Ubiquiti devices; normal smartphones and laptops cannot use the WiFi if this function is enabled.)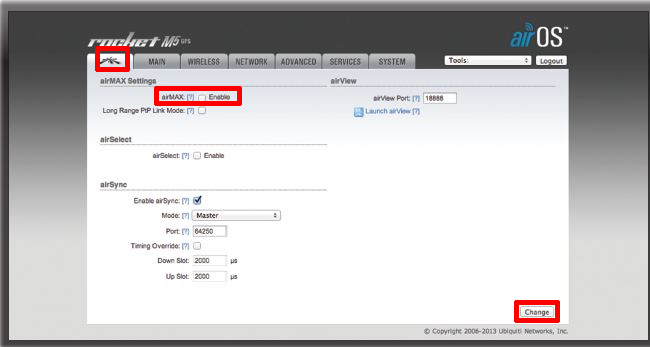
After clicking Apply, confirm with Save.
Menu "Network":
- Select "Bridge" as the network mode.
- Unlike the image, do not assign a static IP address but check "DHCP"! This allows you to connect the Bullet to any router, regardless of its preset IP address.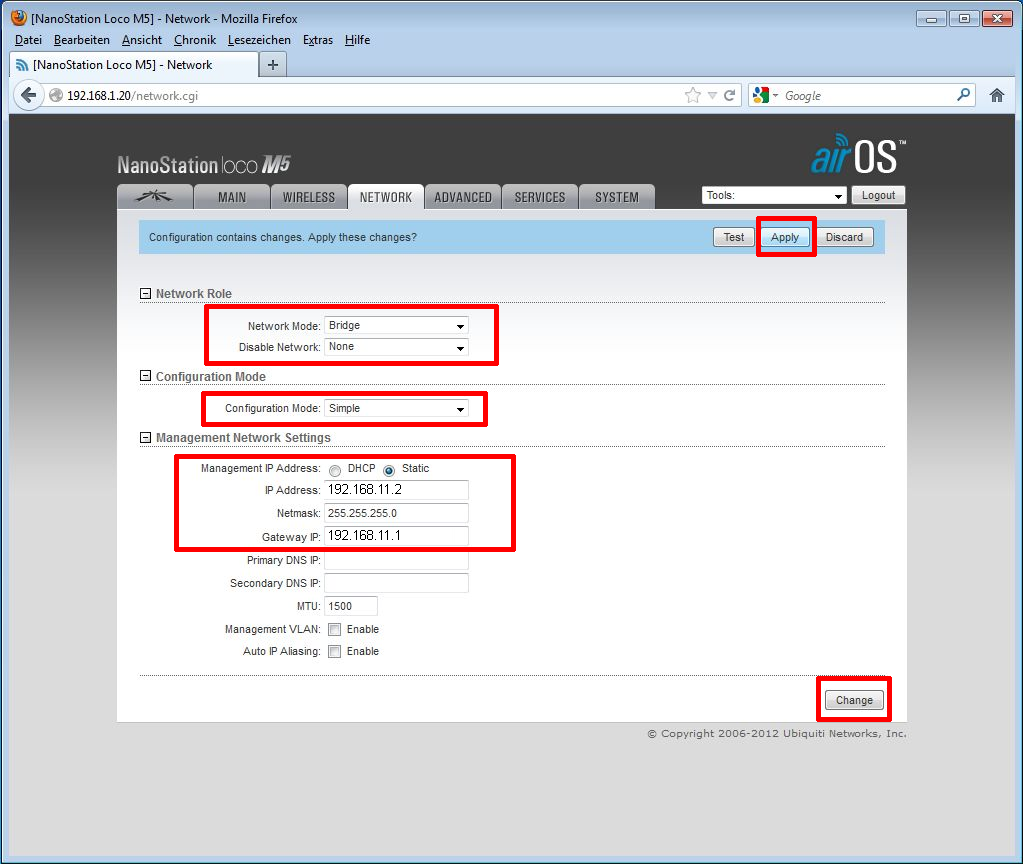
After applying these settings, you will temporarily lose access to the interface because the IP address is now changing.
The device is now fully configured and can be directly connected to the router.
Now, reset the computer's IP address. To do this, go back to "Network and Sharing Center" / "LAN Connection" / "Properties" / "Internet Protocol Version 4" / "Properties," and set the settings back to "Obtain an IP address automatically" and click "OK."
Now, you can connect the PicoStation to the DSL router. ("POE" to PicoStation and "LAN" to DSL router.)